Showing posts with label routing. Show all posts

Thursday, October 19, 2017

More tools and jigs

Am I a Liar?
Yes.  Yes, I am a liar.

So, I decided to start working on the Les Paul again after a loooooooong hiatus.
I got myself all psyched up to get my hands dirty fixing the neck and neck pocket.  This morning I took the body and neck down from the fridge, took one look at it and decided, "I'm not working on the neck pocket today. " Even though I haven't touched this project in 18 months - I'm going to 'switch gears' and work on the neck.

Okay - here we go...

I had alluded to the fact that I was going to make some drastic changes to the neck in a previous post. Here's where we dig into that process.  My plan is to take the existing neck that I bought from Guitarfetish and add the following:

  1. A headstock veneer to match the body
  2. Binding all around the neck
  3. Replace the existing diamond inlays with standard Les paul 'block' inlays
  4. Install an Irish coin inlay (most likely a 1 penny piece) in the headstock
If you've been following along - I finished the headstock veneer a while back.

Today we'll look at how to do the binding around the neck.
The binding was going to be a mixture of easy and hard.  Most of the binding was going to be set in straight runs (with few curves) but I wasn't sure how I was going to route the channel for the binding as I don't own a router table.  This kind of work is hard to do freehand with a router as the neck is curved on both sides and tapered to boot.

After a quick trip to google - it became clear that I had all the necessary parts to build my own primitive router table.  So, first up: build a router table.

Kinda looks like a reject from 'The Lego Movie.'

 The process is actually quite brief.  Take the bottom plate off of your router, trace the outline of it on a flat and wide board (most people use plywood or melamine as they don't warp easily. I used Particle Board which also doesn't warp easily but isn't as durable - it's what I had on hand).

Make sure to mark off where the holes go to attach the board to the router and start drilling holes.  I made a one inch hole in the middle of a sheet of particle board for any router bits to fit through and drilled four 1/8 inch holes for the mounting screws.  I also used a 1/4 inch forstner bit to countersink the screws so that they don't bump into the workpiece.

Once the holes are all drilled - screw the router base onto the bottom of the board, turn the board upside down, mount it to something (I used a black and decker workmate bench), and adjust the height of the router bit until it pokes through the hole.  Voila!

It took almost as long to write this description as it took to make the thing itself.

For any of the more seasoned luthiers/woodworkers out there - this is a temporary router table.  I'm aware that this won't last (particle board warps).  But it got the job done and I didn't have to drop $300 at Rockler.

Anywho!  This particular router bit is larger than the ball bearing on the top - so the ball bearing runs along the work piece and the blade cuts deeper leaving a channel that I can use to install the binding around the neck.

What? Me worry?

As the last several post about binding have proven - I have no idea what I'm doing!  So, we'll see how this goes.  But for now - there is a channel for binding, I have already purchased neck binding, and there's no legal or ethical reason why I can't just bind this sucker at any given moment.

Friday, August 18, 2017

You know what this guitar needs? Holes.

Looks like it's got plenty of holes to me

Here we are again.
That magical time when a man and his router think toward guitars.
I mean, I could just sit here and fiddle with bindings and chip out ( by the way - at some point we're gonna need to deal with those bindings and chip outs) - but where's the fun in that?

No! It's time to dig some holes!
(For some reason I have Craig Ferguson's voice in my head while I say this.  ...and now you do too.)

As you can see - holes were dug. Here's how it all went down.

A guitar needs a certain amount of holes - a semi-hollow guitar more than other types. 
You need the holes for the pickups, the tone and volume controls. You also need the hole for the input jack and the pickup selector switch.  Some of the more esoteric orifices you will need are holes in the pickup cavity for the wires to the volume/tone knobs.  In a sense - you need holes within holes.

As it happens I have already made the holes for the bridge (for the screws that hold it down and the holes for the strings to thread through the body).  I also made the neck pocket and the sound hole.
So, what I'm saying is - there are a bunch of holes in this thing.

This was my iPhone's "Yellow Period"  Kind of like Picasso's Blue Period but dumber.

On this day I started with the tone/volume/switch controls. 

Here's a thing you should know if you are just starting out in woodworking - wood splinters.

No, seriously, if you drill through a board (or in this case a guitar top) the top of the hole will look nice and neat but the other side of the board will look like a splintered mess - unless you brace it with something.  The easiest way to do this is to put a piece of scrap wood under your workpiece and drill through both.  The thing you care about will look good and the scrap will not.

Yeah, I kinda screwed myself on this one.  There's no way to brace the underside of the top while I drill through it as I can't get any wood into the body of the guitar and under the top to brace it.
What's the take-away?  Pre-drill stuff like this before you glue the top down.

"What's the difference?  No one can see it."

True.  But, if the top splinters like that it becomes weaker at that spot.  Also, I have to put a control potentiometer (pot for short) under there.  It'll be easier to attach to a clean (non-splintered) surface.

So, what I did to mitigate the splintering was to drill a small hole and use a reamer to make the hole bigger. The reamer cuts "out" not "down" so there is less splintering.  And that worked - to a point. Specifically the point of the reamer touching the inside of the guitar preventing me from going any further.
From there I used three or four drill-bits of ascending sizes to 'ream' the hole.
Yeah, I thought that was going to be easier too.  Murphy was an Optimist.

By the way - I'd love to tell you what size these holes should be but as the four different Pots that I used as guides all had different diameters - you should probably measure yours if you are playing the Luthier Home Game.

Just airing out my bits...

Next came the input jack hole.  Again - another learning experience.  What I should have done was to use a forstner drill bit of the correct size and drill the hole once.  Instead I ended up using two standard drill bits and two paddle drill bits to 'step' my way up to the correct size. Yes, it was messy.
Listen to me:  Don't do it this way.  It's a waste of time.  Use the right tool for the job.  Especially when you HAVE the right tool for the job.  Luckily I also had a drum sander bit (man, I have a lot of drill bits...) and was able to sand the hole clean.

I think I've seen this image somewhere before...

The pickup cavities:  This actually went pretty well.  Eight years ago (good gravy!) when I started this build, I bought the pickups and made a template out of them - just for this occasion.  So, I was ready to go.  See that kids? Planning ahead can have positive effects.  If you've been reading along - you get the gist.  There was a router bit with a pattern tracing ball-bearing on it and I traced the pattern with the router.

Might be time to sharpen this guy


The toughest part about this process was drilling the holes in the pickup cavity for the wires to connect to the switches and knobs. After my first build I bought a super long drill bit (again, more bits) just for this job.  But somewhere along the way the bit snapped in two.  I tried using the remaining piece (and it DID work) but it wasn't a clean cut (as you can see) and I'll be getting a new one of those bits soon.

We're in a hole to nowhere.  Come on inside.


I do still have some shaping to do on the pickup cavities as the pickups don't fit as nice as I'd like - but that's just a few minutes work with a chisel.  For the most part - this puppy has all the holes it will need.

Okay, maybe not all the holes.  There's the strap holes, mounting holes for the pickups, and then there's the holes for the tuning peg screws, a hole for the neck adjustment screw...


Monday, October 19, 2015

Unbound

Perfect!  Don't change a thing.

Binding is one of those things...  When it's done well it makes everything look super fantastic and if you mess it up - there's pretty much no way to hide it.  So, let's aim for 'done well' rather than messed up. Sound good? 

The binding I purchased is fairly long and will allow me to go around the body in one shot.  You can bind the body using two pieces that meet at the butt of the guitar.  Quite often that's how acoustic instruments are bound but it's hard to hide the joint and with plastic binding there's not much impetus to do it that way.  Gluing this much binding all at once can be tricky - but there are ways to prep it for installation - one of those ways is to pre-bend it

The binding is pretty thick and while it is pliable it tends to spring back into it's original shape.  The best way to fix that is with a heat gun.  
Heat gun you say?  Looks like a hair dryer to me.
As an aside - heat guns are for stripping old paint off of wood.  So, yes, they get quite hot.
I'm just gonna put this out there:  Don't use a heat gun as a hair dryer.  Just don't do it.

The goal is to warm the plastic enough to make it very pliable (not melted) - then quickly shape it before it cools.  Once it does cool it should retain the new shape.  As I had the routing template I made for the Les Paul kicking around the shop - that seemed like the right thing to tape it to.  It's not a perfect match for the guitar body but it will be close enough.

Perspective is a funny thing.  It's a heat gun - not a heat cannon.
It looks like I taped it down and then applied heat to the binding - but really what's going on here is I'm keeping the rest of the binding out of my way.  Since you can only warm up, shape, and tape about 3 or 4 inches at a time - I would work on a section and tack it down with a bunch of masking tape - then move along the body to the next 3-4 inch section.  Those pieces of tape that are really spaced apart would be discarded or reused when I got to that section of the body.

There's always one in every crowd...
The toughest section is the horn and cut-away due to the sharp turn the binding has to make.
I went back after taking this photo and redid that section - as it wasn't quite right.  As you can see - you need a bunch of tape for this part.

One note: I had the heat gun really close to the binding while I was working on this section - like 1 to 2 inches away.  That's probably a little too close.  2 to 4 inches would have been smarter.  The reason I think this is is because the binding drooped (as in toward the floor) when I was bending it around the horn.  That drooping changed the shape of the binding (the word I'm so studiously avoiding is malformed), so it looks like there is a bit of a twist in that section of the binding.

The method of gluing, scraping, and sanding the binding after it is installed should fix or hide the twist.

...I hope...

I can't tonight - I'm all tied up.
So now this guy sits while I find a more permanent home for him...


Looks like another jig to me, Jebediah. What say you?
Ayep. That's a jig all right.
Here's the thing about binding an arched top...
It's arched.  So, you can't rest a router on top and make a straight channel for the binding to sit in.
You have to go build something (or buy something) to make a uniform channel.
This is what I built:

Keep all hands and feet away from the spinning blades of death.


Two asides:
1) I have had to build more jigs and templates on this project than on my four previous guitar builds combined.  Les Paul's are not easy to make (it explains why they cost so much to buy).

2) This isn't the safest jig in the world.  It worked fine for this task but there are better ways to do this.  The guitar body could have easily become jammed between the router blade and one of the side supports.  It's always a good idea to have a place for the the wood to go if it gets thrown by a tool.  This jig only allows for two ways - out the back or back in your face.  So next time I may try to build a pin router.

Okay, one last aside: I used a piece of white Ikea shelving to raise the workpiece up high enough for the blade to cut the channel.  I chose the shelf material because it was so smooth that the work piece would slide over it easily (the better to eat you with my dear).  You could also use melamine for this.

Come closer...
This bit has a ball bearing on it that is smaller than the blade circumference - when the ball bearing touches the work piece the blade cuts in a little deeper than the bearing.  You can buy bits and bearings of different sizes to make larger or smaller channels.  I knew from testing on a piece of scrap that the binding was going to be about 1/32 of an inch bigger than the channel - so I'll have to scrape off the extra with a cabinet scraper.  Better to be a little bigger than a little smaller in this case.

As you can see from the above pictures I clamped the jig to the workbench (I also clamped the Ikea shelf too but didn't take a picture of that) so everything was rock solid.  Put your safety glasses on, hit the power button and whisper a fond farewell to your fingers.

I wouldn't hurt a fly...
...on that note.  I kept the work piece between me and the router bit at all times.  Yes, it would suck to damage the body after doing so much work on it.  It would suck much more to lose a finger.  My heart rate still spikes every time I turn the router on.  It's a healthy reaction.  End of PSA.

One of the best ways to avoid having the router throw the work piece is to be aware of which direction the blade is spinning and to "always feed against the rotation of the blade."

As you can see - it worked!  The router/jig combo made a fairly neat cut.  I made two slips but was able to clean them up by making a second pass that was a 1/16th of an inch deeper than the first cut.  Since the binding is so big that wasn't an issue.  ...sort of.

Eh!?  Eh?!!

Not too shabby!

Look at them appl...
Wait, what?
That looks pretty deep, right?  Perhaps a little too deep?  It doesn't match up with the rest of the binding channel, does it?  No.  It doesn't.  But it's not supposed to.  I knew the binding channel  around the neck was going to be much deeper than the rest of the body due to the way the top was carved.  If you look at all the templates that I made for the top carve - they all have one thing in common - they mask this area of the guitar.  So, this part of the guitar is closest to the original size of the lumber.  I did route an angle into this area but it's still higher than the rest of the carved top.

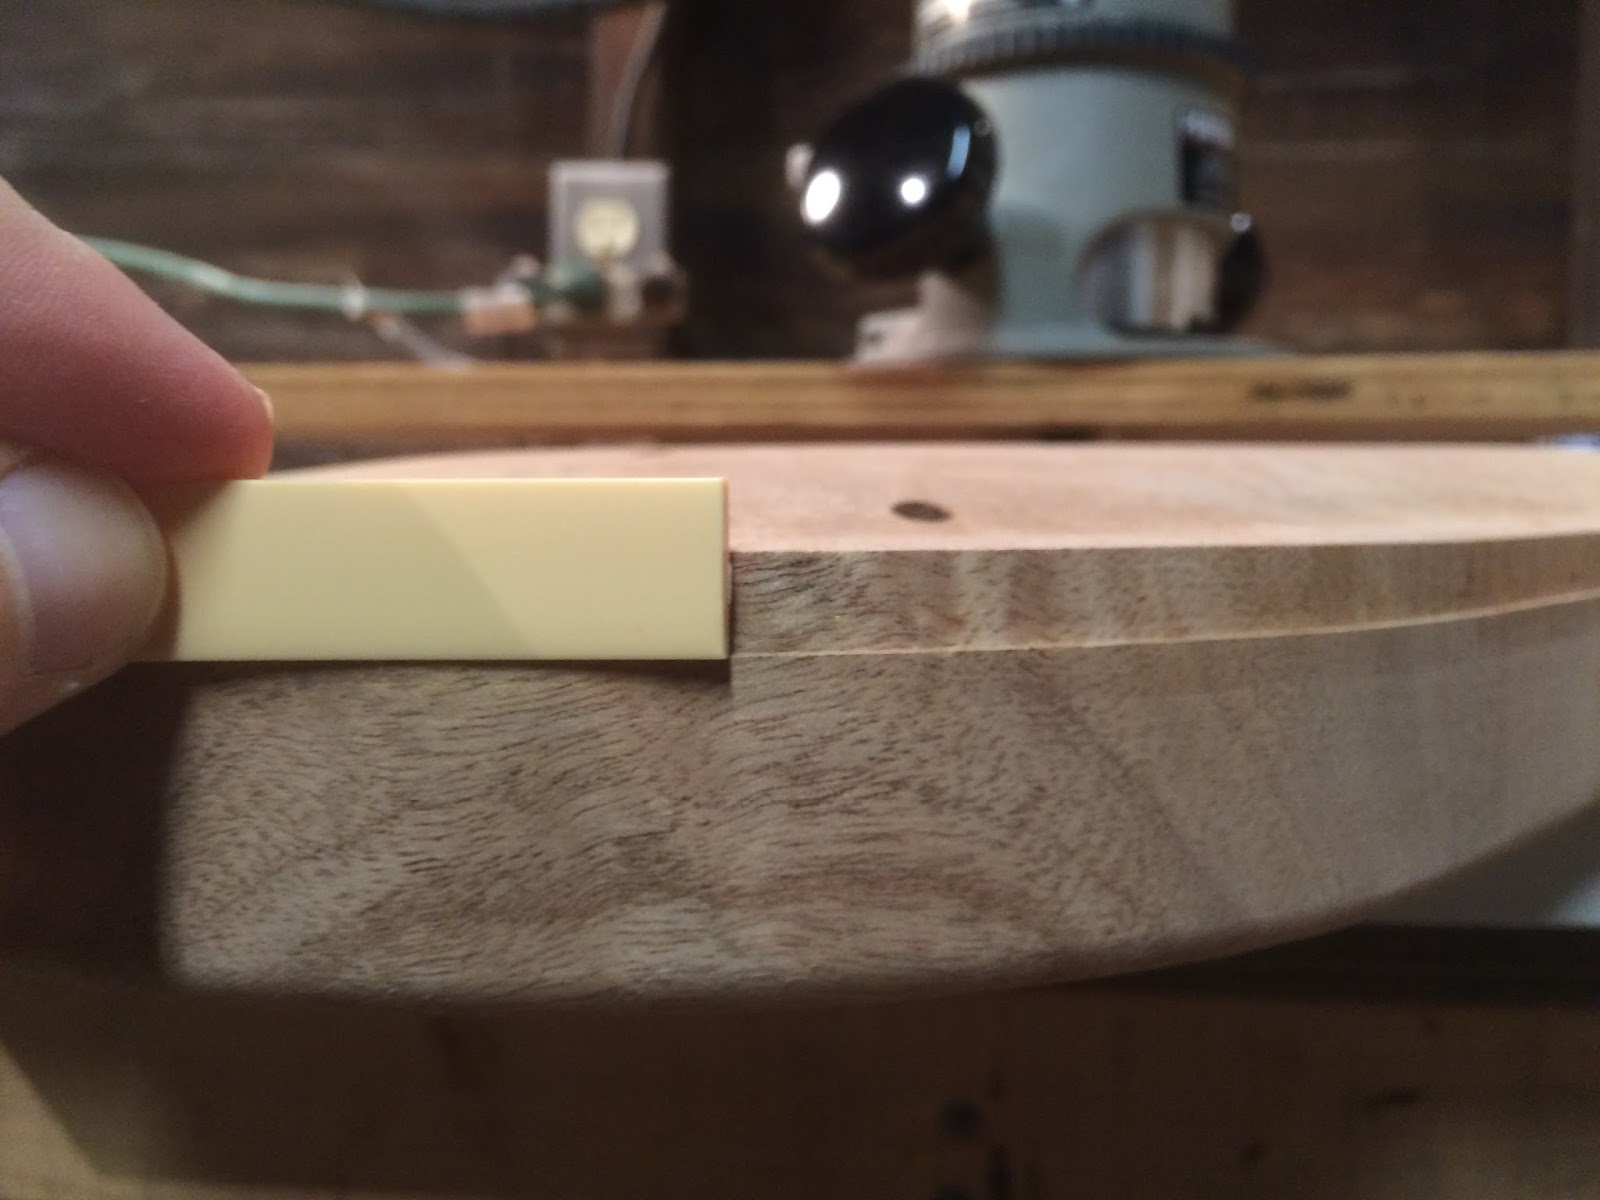
I took a small piece of binding and placed it in the channel at different locations around the body to illustrate:
I know what you're thinking...

You are saying to yourself...

Where does this guy...
Get his nails done?

As you can see - there are a lot of places where the binding will need to be scraped away (quite a bit towards the butt of the guitar).  In the neck pocket I'll probably sand the top of the body down to meet the binding instead of trying to layer the binding to fit the channel.  Believe it or not this is how Gibson did this on older versions of Les Pauls.  If it looks silly I may change my mind - but for now - I'm gonna leave it.

It's never a bad idea to clean up the route.  I made a couple of light passes with the card scraper, a utility blade (to really get into the corners), and some sandpaper wrapped around a piece of binding.

Do you know how to use this thing?

Stick 'em with the pointy end


That's the essence of it, yes.
And now I'm ready to bind this sucker.  But obnoxiously enough I'm undecided as to which adhesive to use: Weld-on cement, Wood glue, Super-glue, epoxy, or binding paste (aka binding goo) are all viable options.  So, while I go do some research - here's where we stand:


Soon...

Monday, October 12, 2015

Covering my assets

Those are some big clamps

This picture may be deceiving.  I am not, in fact, gluing up another body blank.  The above photo is documenting the first stage of making a veneer for the headstock overlay.  I did this once before on a lapsteel guitar that I built.  But in that case I was using store-bought paper thin veneer and it was to cover up a rather glaring mistake.  This time I'm making it from scratch and it is to tie the neck and the body together in an aesthetic way.  The above laminations are some of the scraps left over from gluing the body blank together.   The two outer pieces are Lacewood, the middle pieces are Basswood and center piece is Purpleheart.  Instead of using the extra mahogany I had left over I just turned the Lacewood on its side - to really show off the laces - as I felt this was missing from the body blank.  I glued and clamped just like with the body blank and was left with this:

Hey, look at that...
A chunk of wood!
Since this was going to need a lot of work - I didn't sand or scrape it much at this point.  I did scrape away any excess dried glue (aka squeeze-out) on the face - but only enough so that this would be flat - not finished.
All your fetishes, nightmares, and guitar plans can be found on the interwebs.
As I am building a Les Paul style guitar - I wanted a Les Paul style headstock.  The Epiphone that I have been using to model/measure doesn't have the traditional Les Paul headstock - so I went digging (or is it trolling - I can never remember) on the internet.  The above image is what I found.  I don't love the above image.  It's close to the shape I had in mind but it's not exact.  The very top of the headstock looks like an open book (or a mustache).  This version is a bit too voluptuous for my taste. I think it should be a bit more subdued.  So, I'll probably modify this.

Anywho!  Depending on which headstock you are creating an homage to, you would: find the image, print it out and then take an exacto blade to it.  And you are left with:

No trademark infringement is intended or implied
One other issue that is a bit of a problem for me is that the headstock on the neck I am modifying isn't the same length or width as the above template.  So, I will need to nip and tuck a bit - on both the existing headstock and the template.  That may cause havoc with the tuning peg holes (the six circles in the above picture).  But we'll burn that bridge when we get to it...

You know the drill...
You trace!

It's the same as about...
You cut with a jig saw!

50% of the posts on here...
You sand!
It's all a bit repetitive, no?

Ah!  Here's something new and dangerous...

You are left with a big frickin block of wood.  How the heck are you going to add this to the headstock?  It'll be two inches thick...?  

Now is the time that you make yourself a veneer (aka a really thin piece of wood).  The best way to do this in a home shop is with a band saw.  Sadly, I don't have one.  And I wasn't wild about the idea of using the jig saw for this.  A jig saw would just make a mess of it.

You could try using a table saw and running the piece through once then flipping it over and running it through again.  But how do you hold such a small piece of wood with a spinning blade of death so close to your fingers?  (No, seriously, if any wood workers want to share that bit of wisdom - I'm open!).  The safest way (and the most time consuming by far) is to use a hand saw in a miter box.  

...so, of course I didn't do it that way either...

I covered the whole thing in double-sided tape, stuck it to the end of a 4 by 4 piece of stock, and ran it through the chop saw.

Kind of like this...
Lessons learned?  
Well... It worked!  
And the saw didn't kick the wood out and hit me in the teeth.  So, I'm kind of happy about that.  

In truth - even after it went through the saw - the workpiece was still pretty stuck to the 4 by 4.  So, it was fairly safe.  I didn't take pictures of this because I was concerned that someone would try it and lose an eyeball (wear your eye protection, you whippersnappers!) but I thought I should come clean - as a big part of this blog is to share my experiences - not just the outcomes.  

Having said that - just as a way to cover my own, ahem, assets - please test the adhesion before you try this.  I made sure that the workpiece and the 4 by 4 were strongly adhered to each other.  I kept my body and face away from the most likely kick-out path of the workpiece.  And I wore enough protection that most of my face was covered (eyes, ears, and nose/mouth).

Another thing that I didn't photograph (but should share) is that I had to do this a second time because the above veneer was too thick.  The second one was about two thirds as thick as the above veneer - and that's the one you see in the photos below.  I used the same process and had the same results.  
I'm always open to safer methods - so please feel free to comment if you have an opinion.

I mustache you...
Do you know how to use that thing?
After the veneer was cut to thickness - it needed to be reshaped to fit the headstock of the neck I'm using.  I used a coping saw to cut the rough shape of the top and also remove a bit from the bottom (where it meets the neck/nut) with the chop saw.  It's hard to see in the below picture but the existing headstock is asymmetrical - so that's why it had to be shorter - as the new headstock shape is symmetrical.


Pictured: Fiddly Routing
Once the headstock veneer was close enough to the shape that I want (yet still fit on the existing headstock) it was time to bust out the router.  Now, with such a thin template (the actual veneer) and the intricacy of the shape - this was some finicky (nay fiddly) routing.  I tried using the double-sided tape to adhere the veneer and the existing headstock - and it worked like a champ.  So, I didn't need to break out any clamps for this job - which made it easier.  Be careful though - if you don't use enough tape - the router will turn that veneer into a missile
.
That's when it goes from fiddling about to flinging about

As you can see - there is some clean up work to be done.  Much of it can be done with the belt sander. Some needs to be done with a coping saw, micro files, and a very sharp chisel.  

How sharp?
Very.
When we get to the part where I glue the veneer to the headstock I'll tackle this properly.  
There's still loads to do (tuning key holes, final shaping, binding, etc.).
Until then here is a preview of things to come.


Dirty Irish Money
Dirty Sexy Guitar


Friday, July 11, 2008

Part 4: Power Tools


The wood is glued and the template traced - it's now time to start sawing.


So, for those of you who are not familiar with power tools - a jig saw is not a precision instrument. I had no illusions that it would create a finished edge - I knew there was some sanding in my future but I didn't know that it would be so imprecise. Perhaps closer to the truth is that I am the one who is imprecise and the tool is fine. I'm happy to put the blame on the tool for now and learn from my mistakes.
The "rough draft" of the body was in such bad shape that I was left with no alternative - a router would be necesarry.


For those of you not familiar with a router it can be a precision instrument in the hands of a skilled wood worker. As a guitarist - I've got game. As a wood worker - not so much...


I had not originally planned on using a router to refine the shape of the Tele. I was hoping to avoid routers in general and be able to sand my way to a symetrical guitar after I had cut the rough shape with the jig saw. ...the whole time I would be dodging snowballs in Hell and shooing flying pigs circling around my head...

The only power tool that make me more apprehensive then a router is a table saw. Anything that spins around in thousands of revolutions per minute should be respected. Adding a carbide razor to the tip of said spinning object - with no gaurd in sight - is cause for concern. The body part most likely to be damaged by a table saw or router? The fingers. The body most important to the playing of guitars? The fingers. ...you can see the nature of my concern.


I was going to seek help from friends or family - people with more routing skill than I to help me with this part of the project but my pride (read obstinance) got the better of me. I decided the only way to learn how to swim was to jump in. I went out and bought a Home Despot special - a Ryobi router for $60.


So, for those of playing the home game - that is $120 in tools - so far. That's $35 for the jig saw, $60 for the router and $25 for the router bit. I already had the sander but did need to buy sand paper in the following grits: 36, 60, 100, 150, 220, 320. I still need to buy 400 and 800 grit (and maybe higher for when it comes time to put a finish on this gal). This is just the begining too, so keep your calculators handy.


As I said, I'm not a skilled wood worker but very few people are born that way so I figured I could probably learn. Yeah, one big part of the learning process is having a teacher. As most of us know the other big part of learning is experience. Bad experience being a the more memorable for most of us. I've had three teachers when it comes to wood working: my father, and my buddies Bill and Rudy. In addition to teaching me how to use tools all three of them have tried to teach me the same lesson: Measure twice - cut once.


...did I mention that I'm a slow learner?


This is where Experience comes in. Suffer enough heart-ache and you'll learn eventually. This project has been painless for the most part but there have been numerous times where if I had just measured twice I would be playing my guitar now and not still building it.
But I digress...

One of the great things about routers is that if you buy the right router bit you can use a template or form to trace a shape. As long as your template is smooth and accurate - your final piece of wood should be as well. I bought a router bit with a ball bearing colar just above the cutting edges. This way the ball bearing guide follows the contours of the template and the blade cuts the wood. To make the template I used the Squier body to trace the shape on a piece of Medium-density fiberboard (MDF) that was about 1/2 inch thick.

If I ever build another guitar I would use 3/4 inch plexiglass for my template instead of 1/2 inch MDF. The extra hight would make it easier to do more passes with the router. I bought a router bit that is too long - it should be 1/2 inch not 1 inch but my local home despot only had the larger bit. Because of this my initial cut is too deep. It means I make fewer passes with the router but it also means my cuts are not as precise and I had quite a few burns on the wood. With routers - the shallower the cut - the smoother the end product. Some people recommend making 1/4 inch passes or less with the router. I was making anywhere from 1/4 to 1/2 inch cuts. Cuts that deep are hard on the router, hard on the blade and hard on the wood. Less, in this case, is more. Way more. There is also the thought of a router bit snapping because it is working too hard. That friends and neighbors is the thought that gives me the creeping willies.

Another reason for using plexiglass is that a transparent template would make positioning hardware and pickups much easier.

So, what you do is take your finished template and put it on top of your body wood. Clamp the template to the body using vice grips/clamps (remember not to let the clamps directly touch the body - use wood scraps between the clamps and the final piece whenever possible - this will mean less sanding later). Set your router on top of the template. Lower the router blade so that the ball-bearing guide touches the template and the blade touches the wood (I made the mistake of letting the blade touch the template and now that template don't work so good). After you make a few passes the body itself will act as the template. The ball-bearing will follow the contours of the previous cuts you made.

I made so many mistakes with the jig saw on my rough cut that I had to move my template around a little in-between router cuts to get a smooth finish. The end result is that my Tele is slightly less wide around the waist than standard Tele's are. Still looks okay!


Note: I wiped this with a quick mineral spirit wash again to 'preview' the grain.